If you’ve scheduled a security camera, intercom, or access control installation and aren’t sure what to expect, this guide is for you. Low-voltage installations follow a fairly consistent pattern, and knowing what’s involved will help you plan around the work and ask the right questions before and after the job.
What “Low Voltage” Means in a Building Context
Low voltage refers to electrical systems operating below 50 volts — distinct from the line voltage (120V/240V) that powers your outlets and lighting. In a building security context, low-voltage systems include:
- Security cameras (IP cameras typically powered via PoE — Power over Ethernet)
- Intercoms and video entry systems
- Access control panels, readers, and electric door hardware
- Structured cabling (CAT6, fiber) used to connect all of the above
Low-voltage work requires specific licensing in most states, separate from general electrical licensing. When vetting a contractor, confirm they hold the appropriate low-voltage or systems integrator license for your jurisdiction.
Pre-Installation Planning
A professional installation starts well before the crew arrives. There are a few things you should expect to happen in advance:
Site survey: A qualified technician should walk the property before quoting or scheduling the installation. They’re assessing camera field-of-view angles, existing conduit and cable pathways, network infrastructure, power availability, and any access challenges (locked rooms, tenant spaces, roof access). A quote without a site survey is a quote based on guesswork.
Conduit and pathway assessment: In many commercial and multifamily buildings, running new cable requires working within existing conduit systems. The survey should identify where new conduit is needed versus where existing pathways can be used. This directly affects labor time and cost.
Tenant notification: If any work will happen in or immediately outside occupied units — including hallway cameras adjacent to unit doors or intercom wiring inside units — notify tenants in advance. Even if access isn’t required inside the unit, loud drilling or temporary loss of entry access warrants a heads-up. Check your lease terms and local regulations for required notice periods.
Day-of Installation: What to Expect
The typical installation sequence for a security system looks something like this:
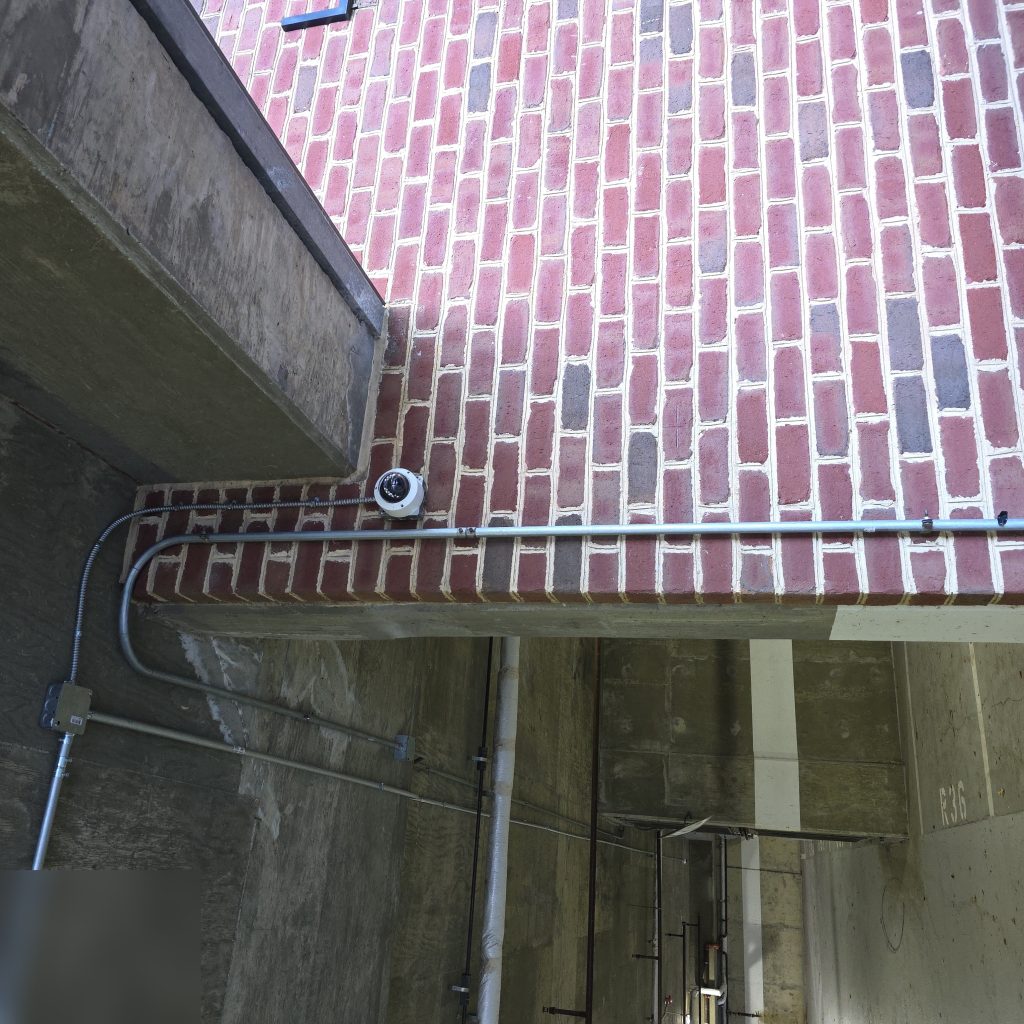
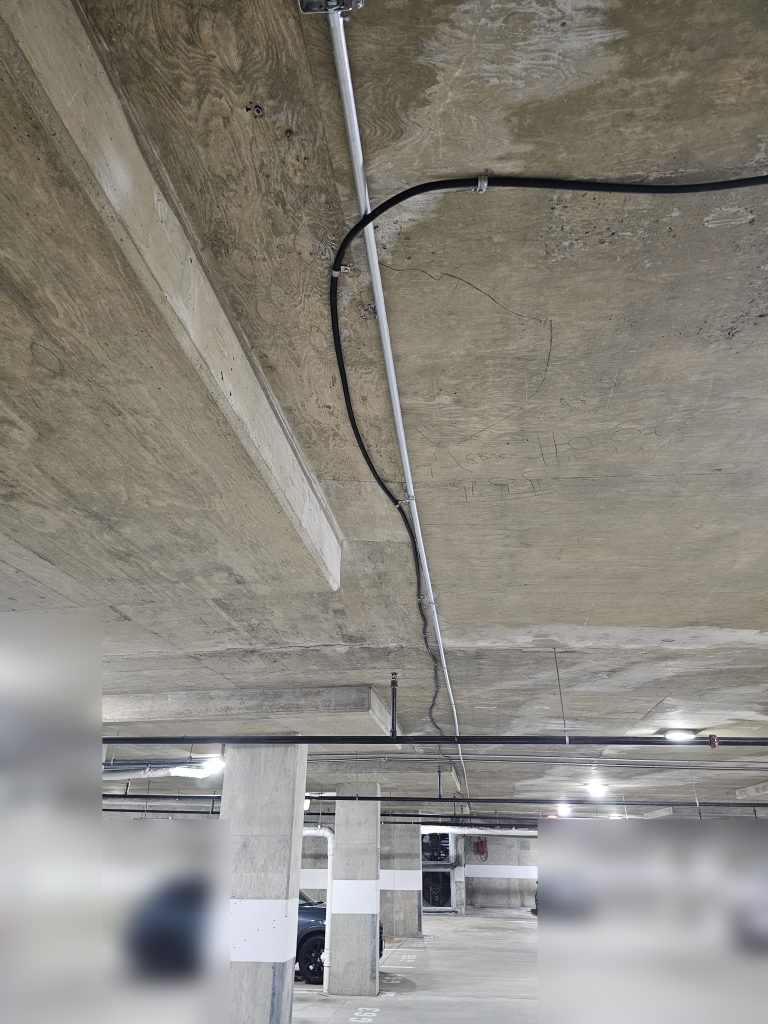
- Cable runs first: Technicians typically pull all cable before mounting any devices. This is the most physically disruptive phase — drilling through walls, pulling wire through conduit, and running cable trays where needed.
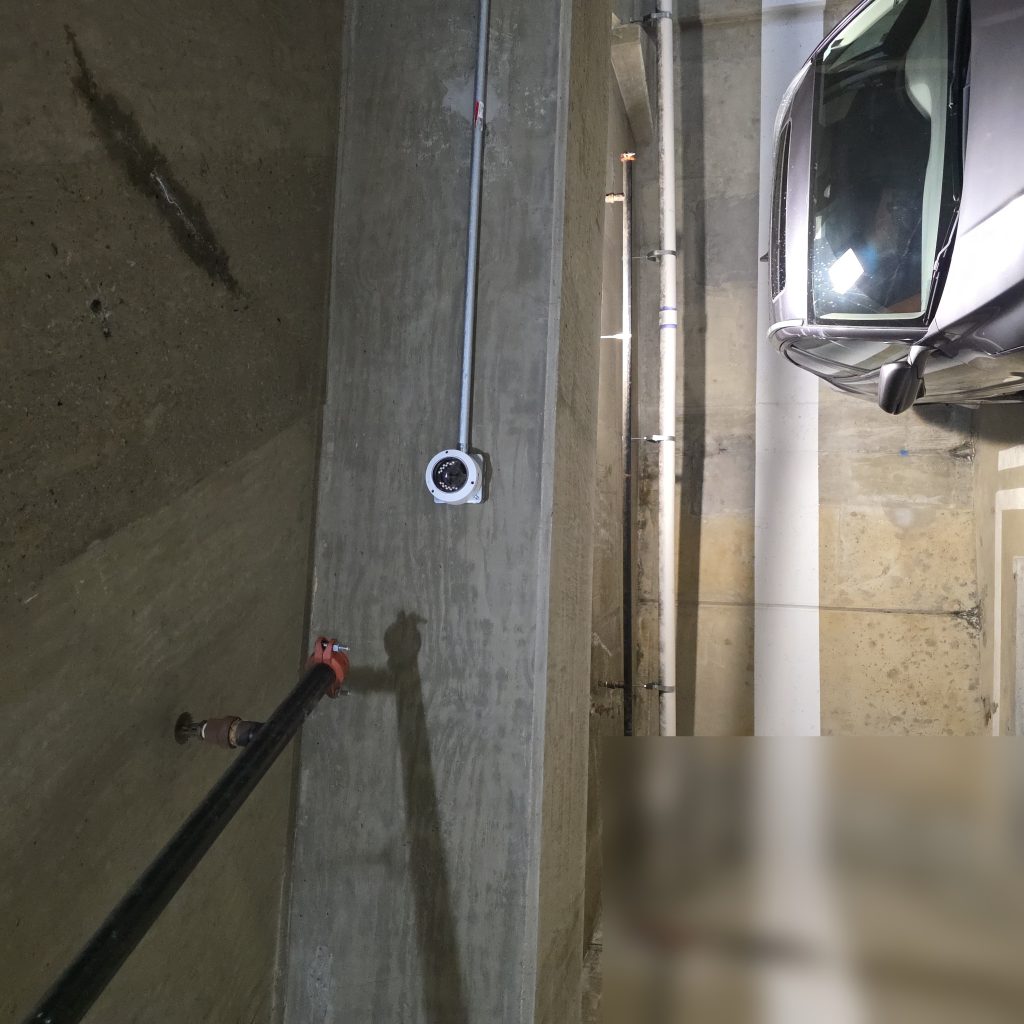
- Device mounting: Once cable is in place, cameras, readers, and panels are mounted and terminated.
- Network and power connections: Devices are connected to the network switch (for IP systems) and power sources confirmed.
- System configuration: Software setup, IP addressing, user provisioning, and recording schedules are configured.
- Testing: Each device is tested individually, and then the system is tested as a whole.
What will be temporarily offline depends on the scope of the work. A new intercom installation may require the front door to be held open or manually operated while the old system is disconnected and the new one isn’t yet live. Access control upgrades may briefly interrupt door operations at specific entry points. A good contractor will sequence the work to minimize these windows and communicate the timing clearly.
Testing and Commissioning
At the end of a professional installation, you should expect a commissioning walkthrough — not just a “it works, sign here.” A proper walkthrough covers:
- Verifying camera angles match the agreed scope
- Confirming recording is functioning and footage is accessible
- Testing each access credential (fobs, codes, app access) that was provisioned
- Demonstrating alert notifications and showing how to adjust settings
- Confirming all entry points that were modified are functioning correctly before the crew leaves
If anything isn’t working correctly at commissioning, it should be resolved before the crew leaves — not added to a punch list for a future visit.
Documentation You Should Receive
At project completion, a professional contractor should provide:
- As-built drawings: A diagram or marked-up floor plan showing where cables were run, where devices are located, and how everything connects. This is invaluable for future troubleshooting or expansion.
- Warranty documentation: Both the manufacturer warranty on hardware and the contractor’s labor warranty. Get these in writing with clear terms.
- Access credentials: All admin usernames, passwords, and access codes for the installed system. These should be handed to you in writing — not just verbally communicated.
- System overview: A basic reference document (or verbal walkthrough) of how to access the management interface, add or remove users, pull footage, and contact support.
If a contractor resists providing any of these, that’s a red flag. You own the system — you should have everything needed to manage it, expand it, or hand it off to a different service provider if needed.
Innovative Developments handles low-voltage security installations for multifamily and commercial properties in the area. If you’re planning an installation and want to understand what the process will look like for your specific building, reach out for a site assessment.